- This topic has 2 replies, 2 voices, and was last updated 6 years ago by .
Viewing 3 posts - 1 through 3 (of 3 total)
- You must be logged in to reply to this topic.
Forums › ePic Character Generator › Showroom › Postworks › Tip and Tricks › Fast and Easy Lighting Bolt tutorial
For jvarnes 🙂
So.
Requirements:
– a Character who needs a Lighting bolt effect 🙂
– Program what can handle layers (preferably Photoshop)
– A lighting bolt png or brush. I used this one for my tutorial: Click here
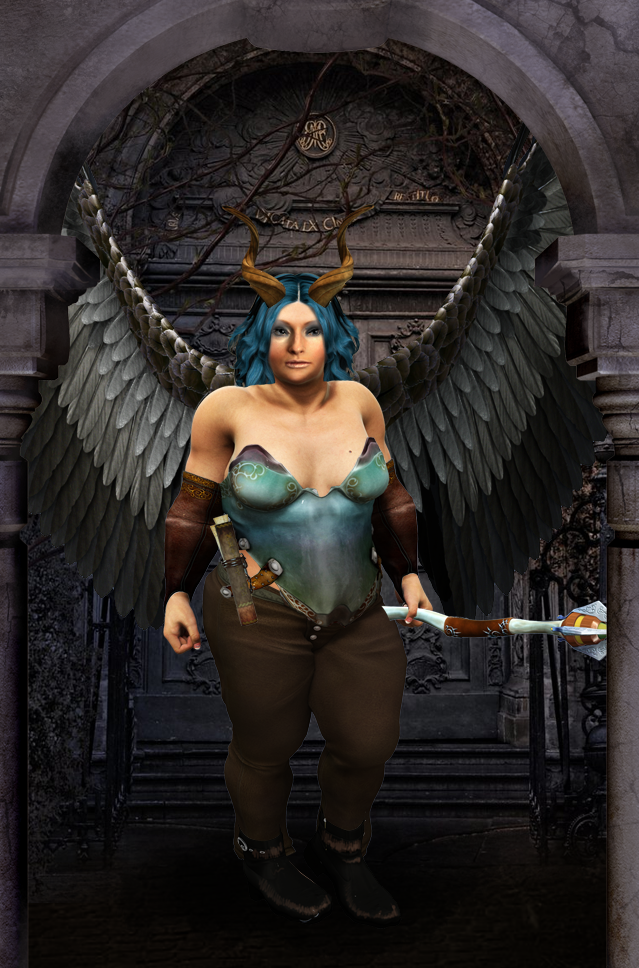
At first i made a character (she is a random)
Then on NEW LAYER i put some lighting, where i want. The new layer is important
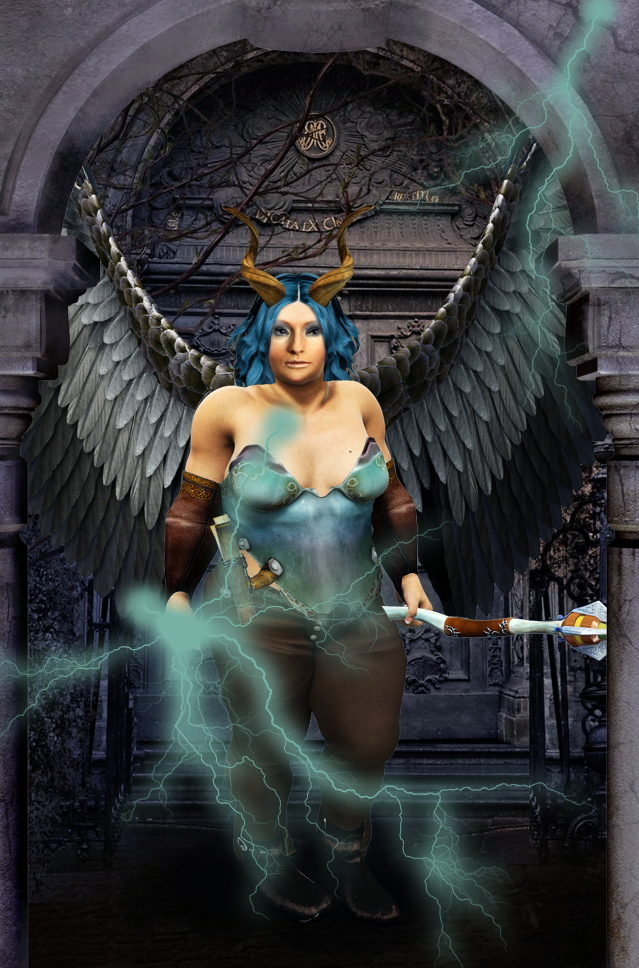
I DODGED the lighting for making high neon effect
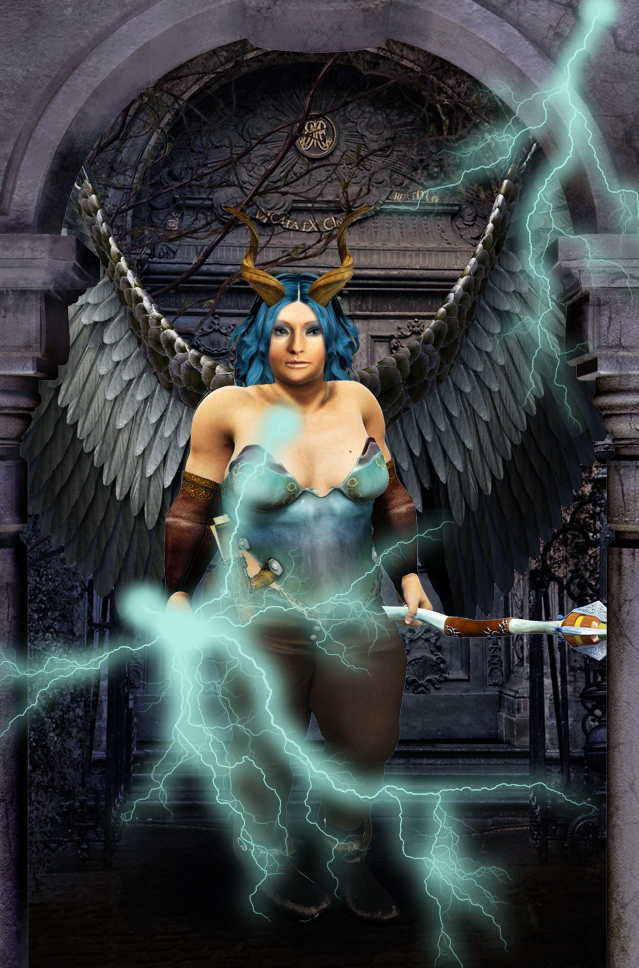
ANOTHER NEW LAYER, took a soft rounded brush (its around 100 px), SAME colour like the lighting, but SCREEN brush settings, i made some blobs, and stuff (the “shadow” part)
i set the layer “soft light”, and put between the character and lighting bolt.
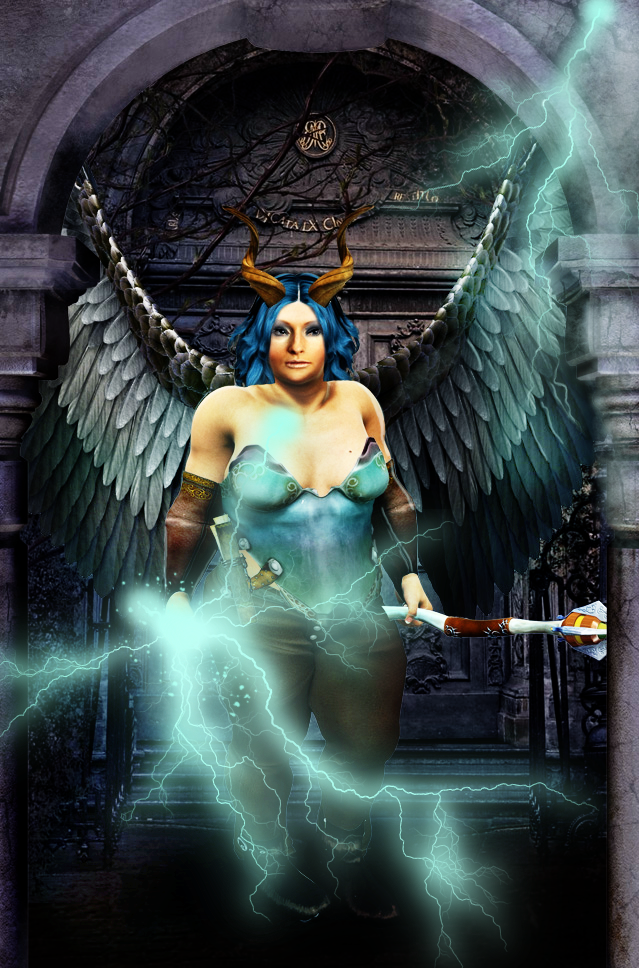
also made some little spot to the character’s hand, without any reason 🙂
The lighting effect as png (feel free to use)
two optional little thing:
i duplicated the merged layers, and set the new layer soft light around 25%
merged again, and put a “smart sharpen” to it
Yea! Thank you for this great tutorial sade! 🙂
Necessary cookies are absolutely essential for the website to function properly. This category only includes cookies that ensures basic functionalities and security features of the website. These cookies do not store any personal information.
Any cookies that may not be particularly necessary for the website to function and is used specifically to collect user personal data via analytics, ads, other embedded contents are termed as non-necessary cookies. It is mandatory to procure user consent prior to running these cookies on your website.